Painting kitchen cabinets with chalk paint
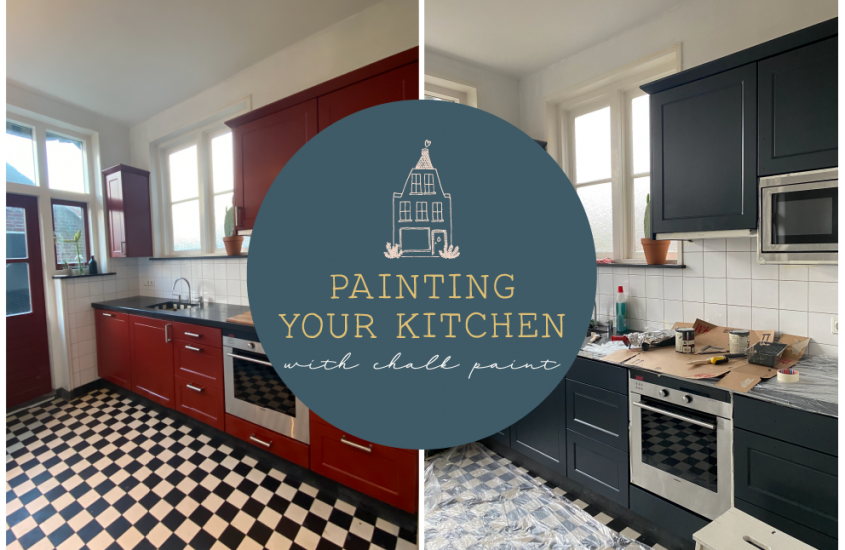
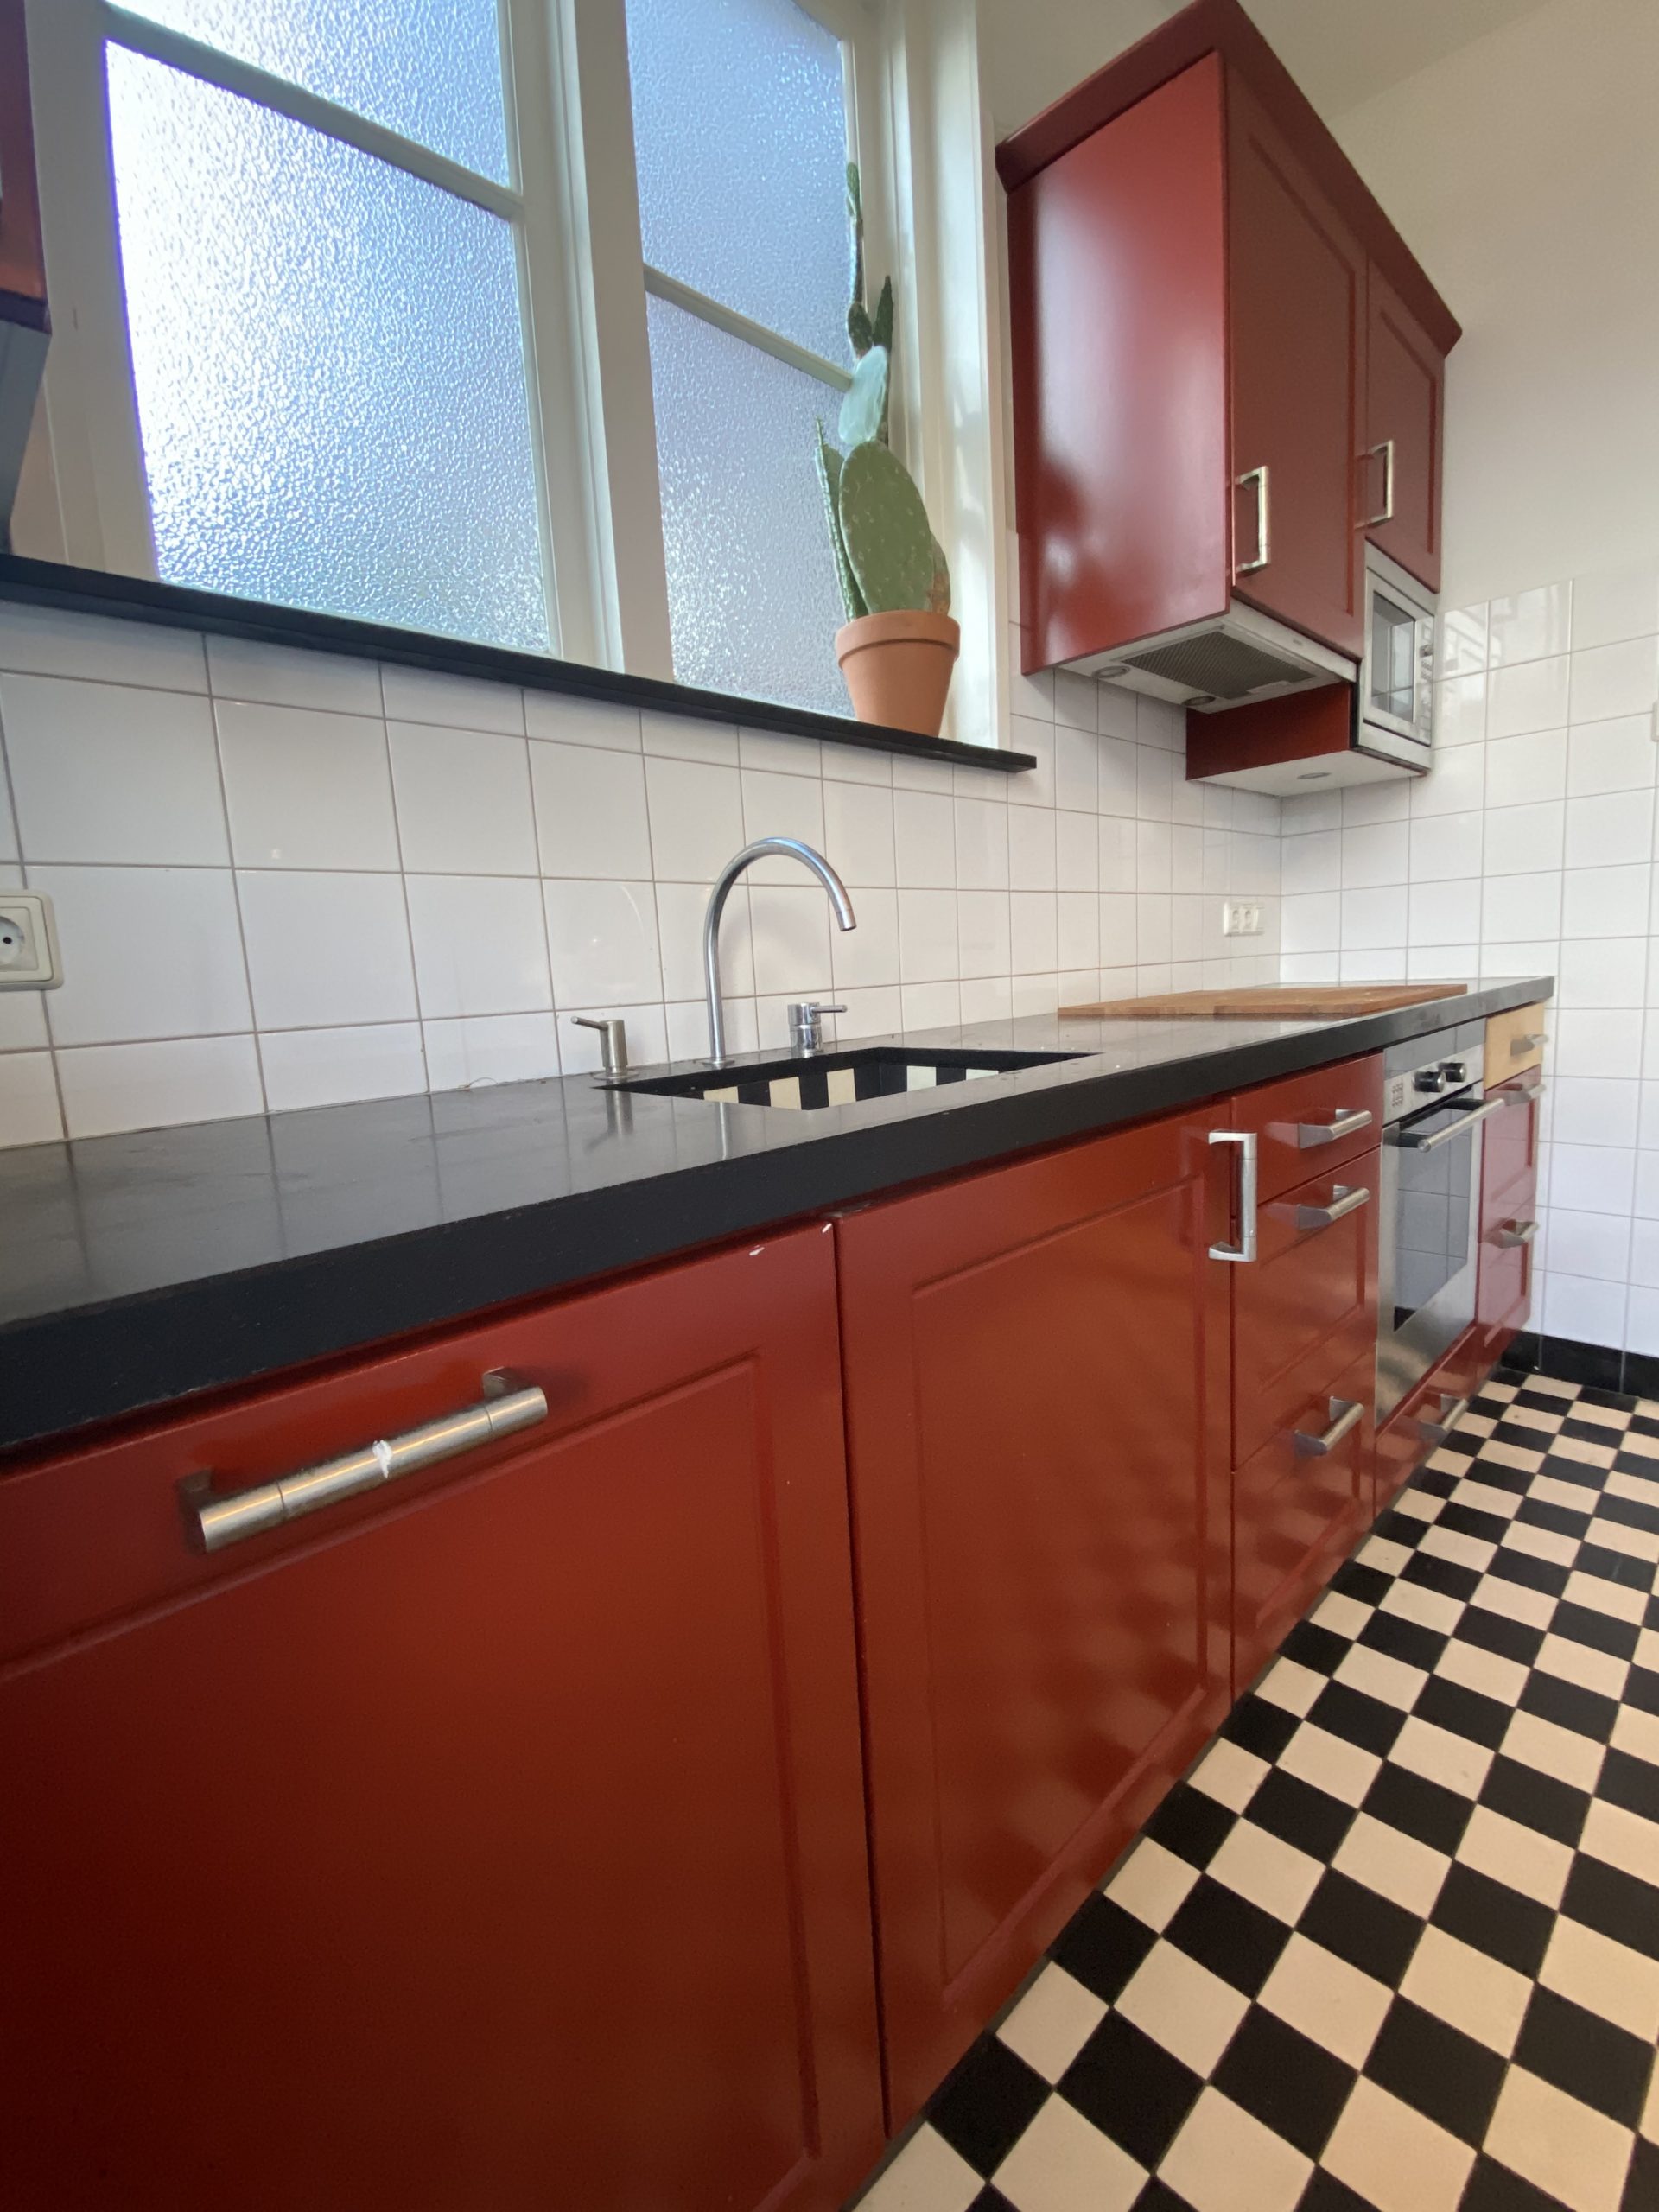
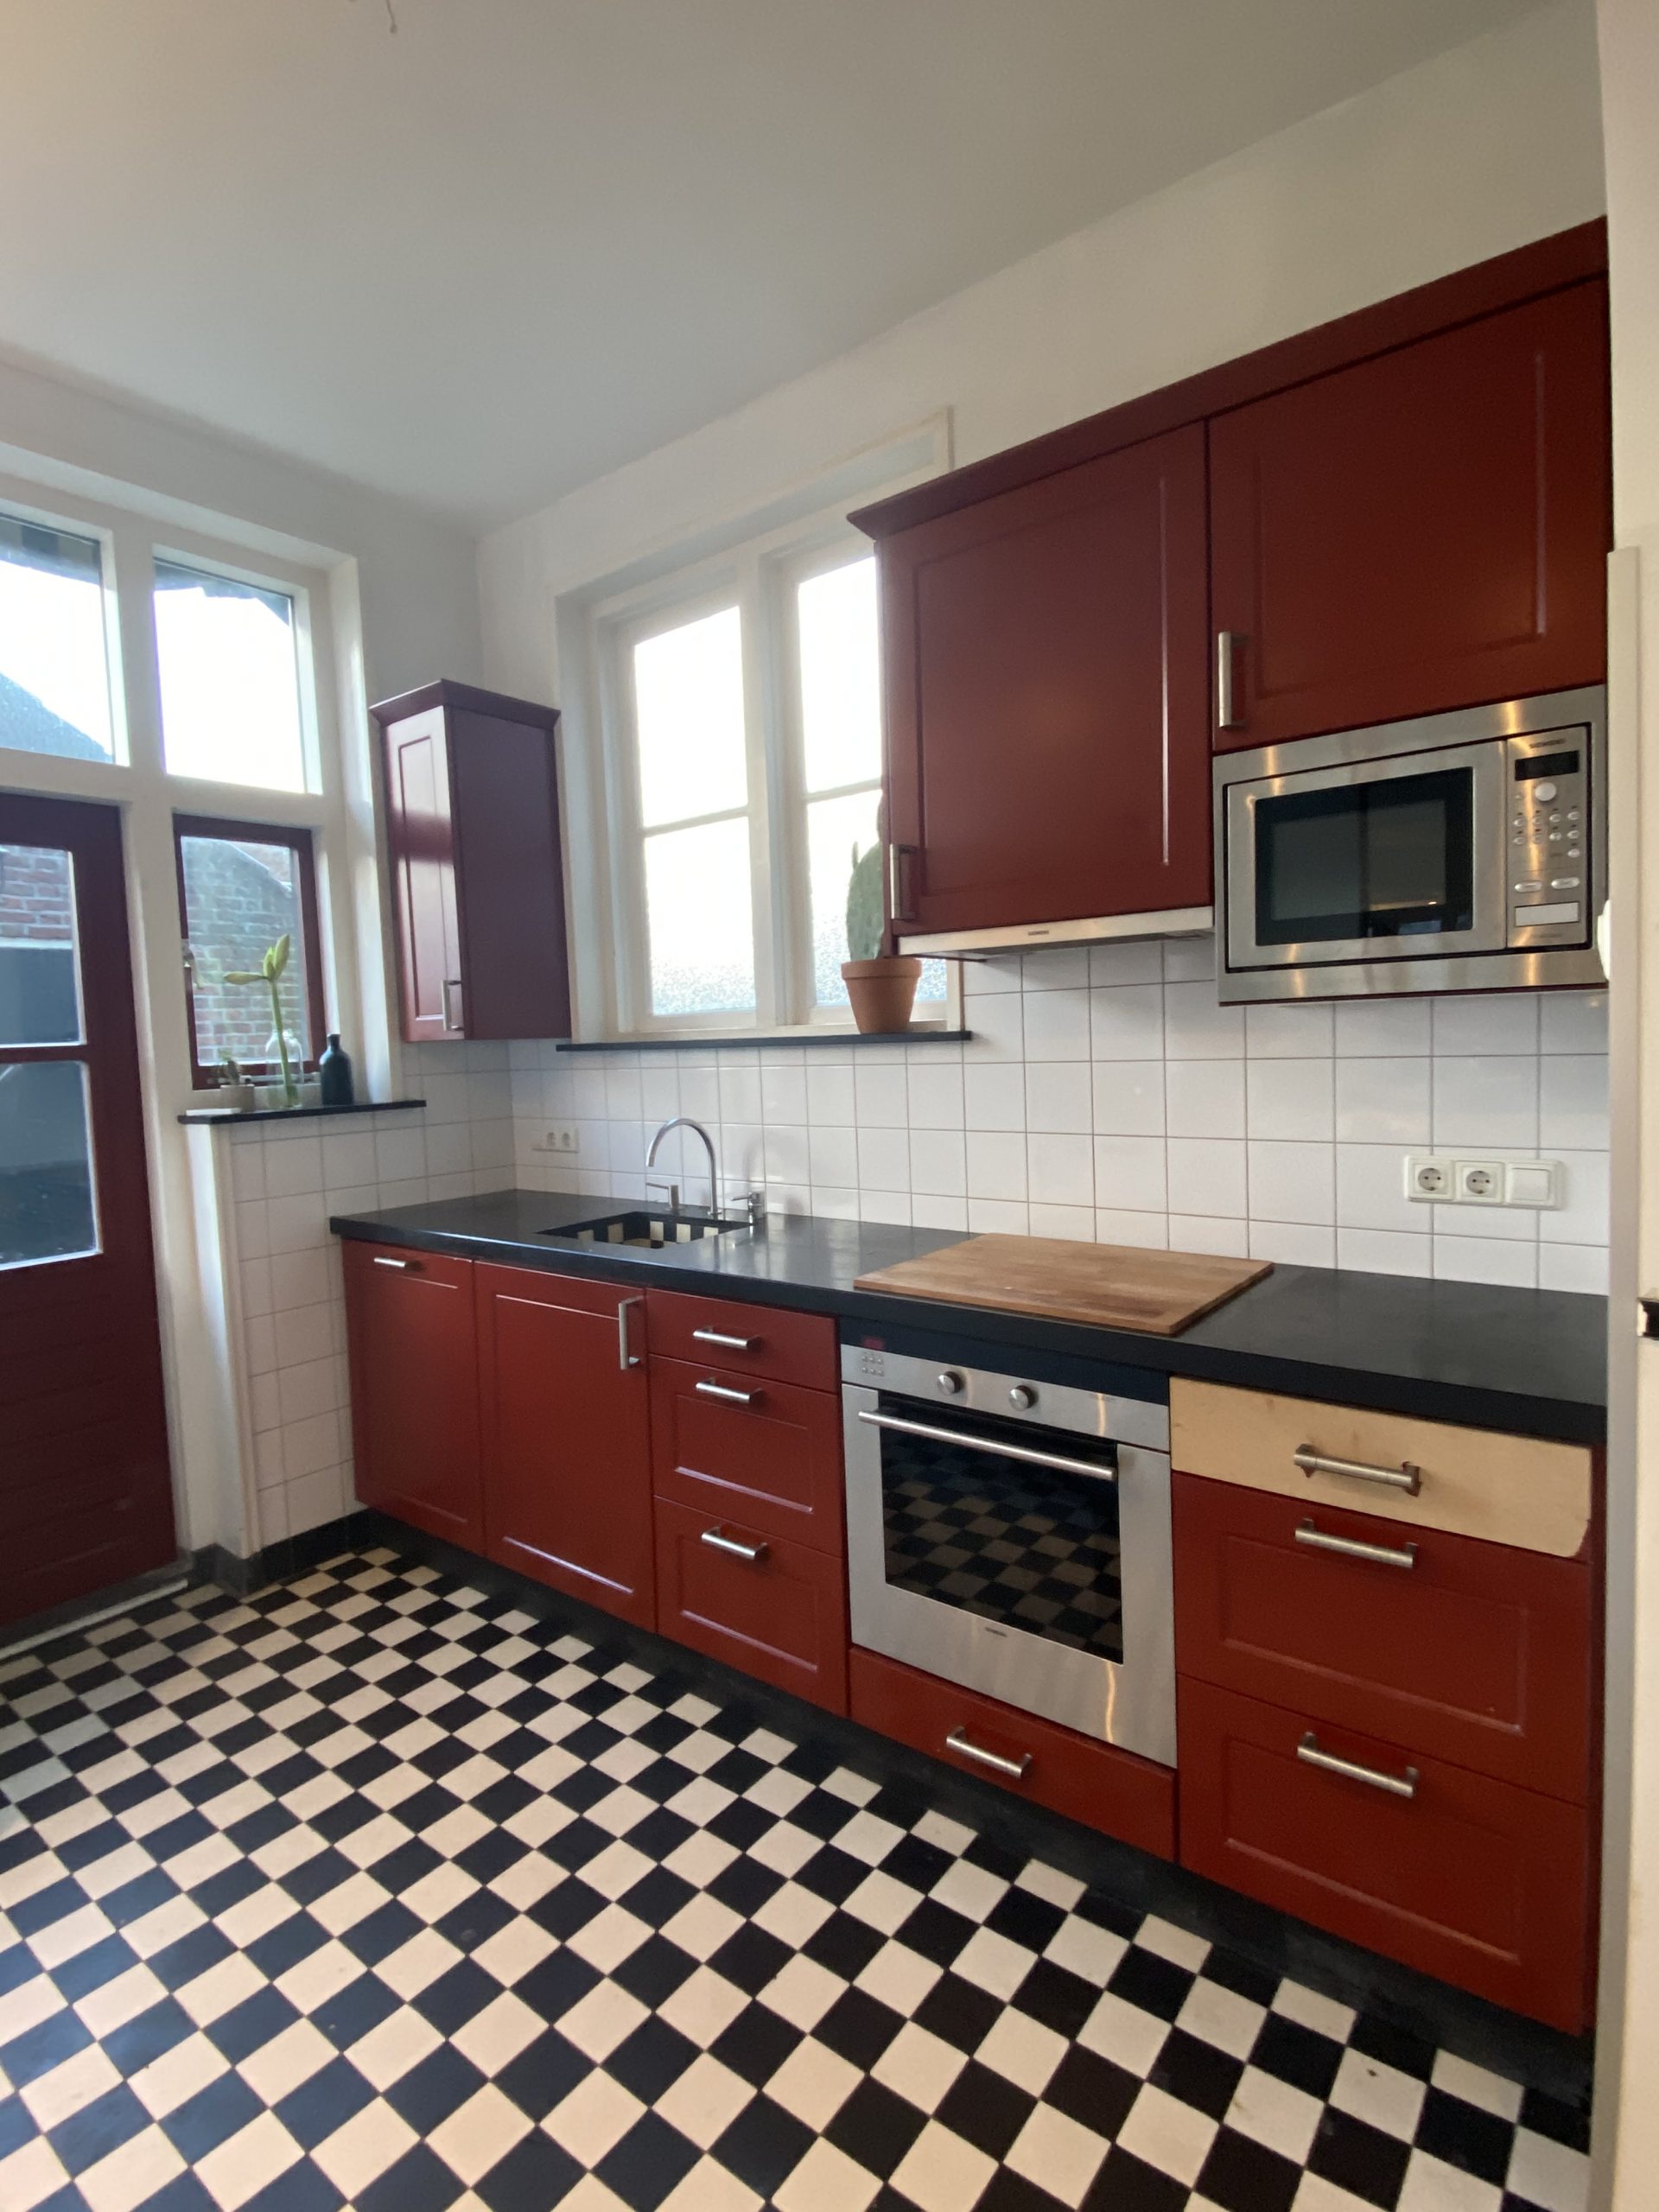
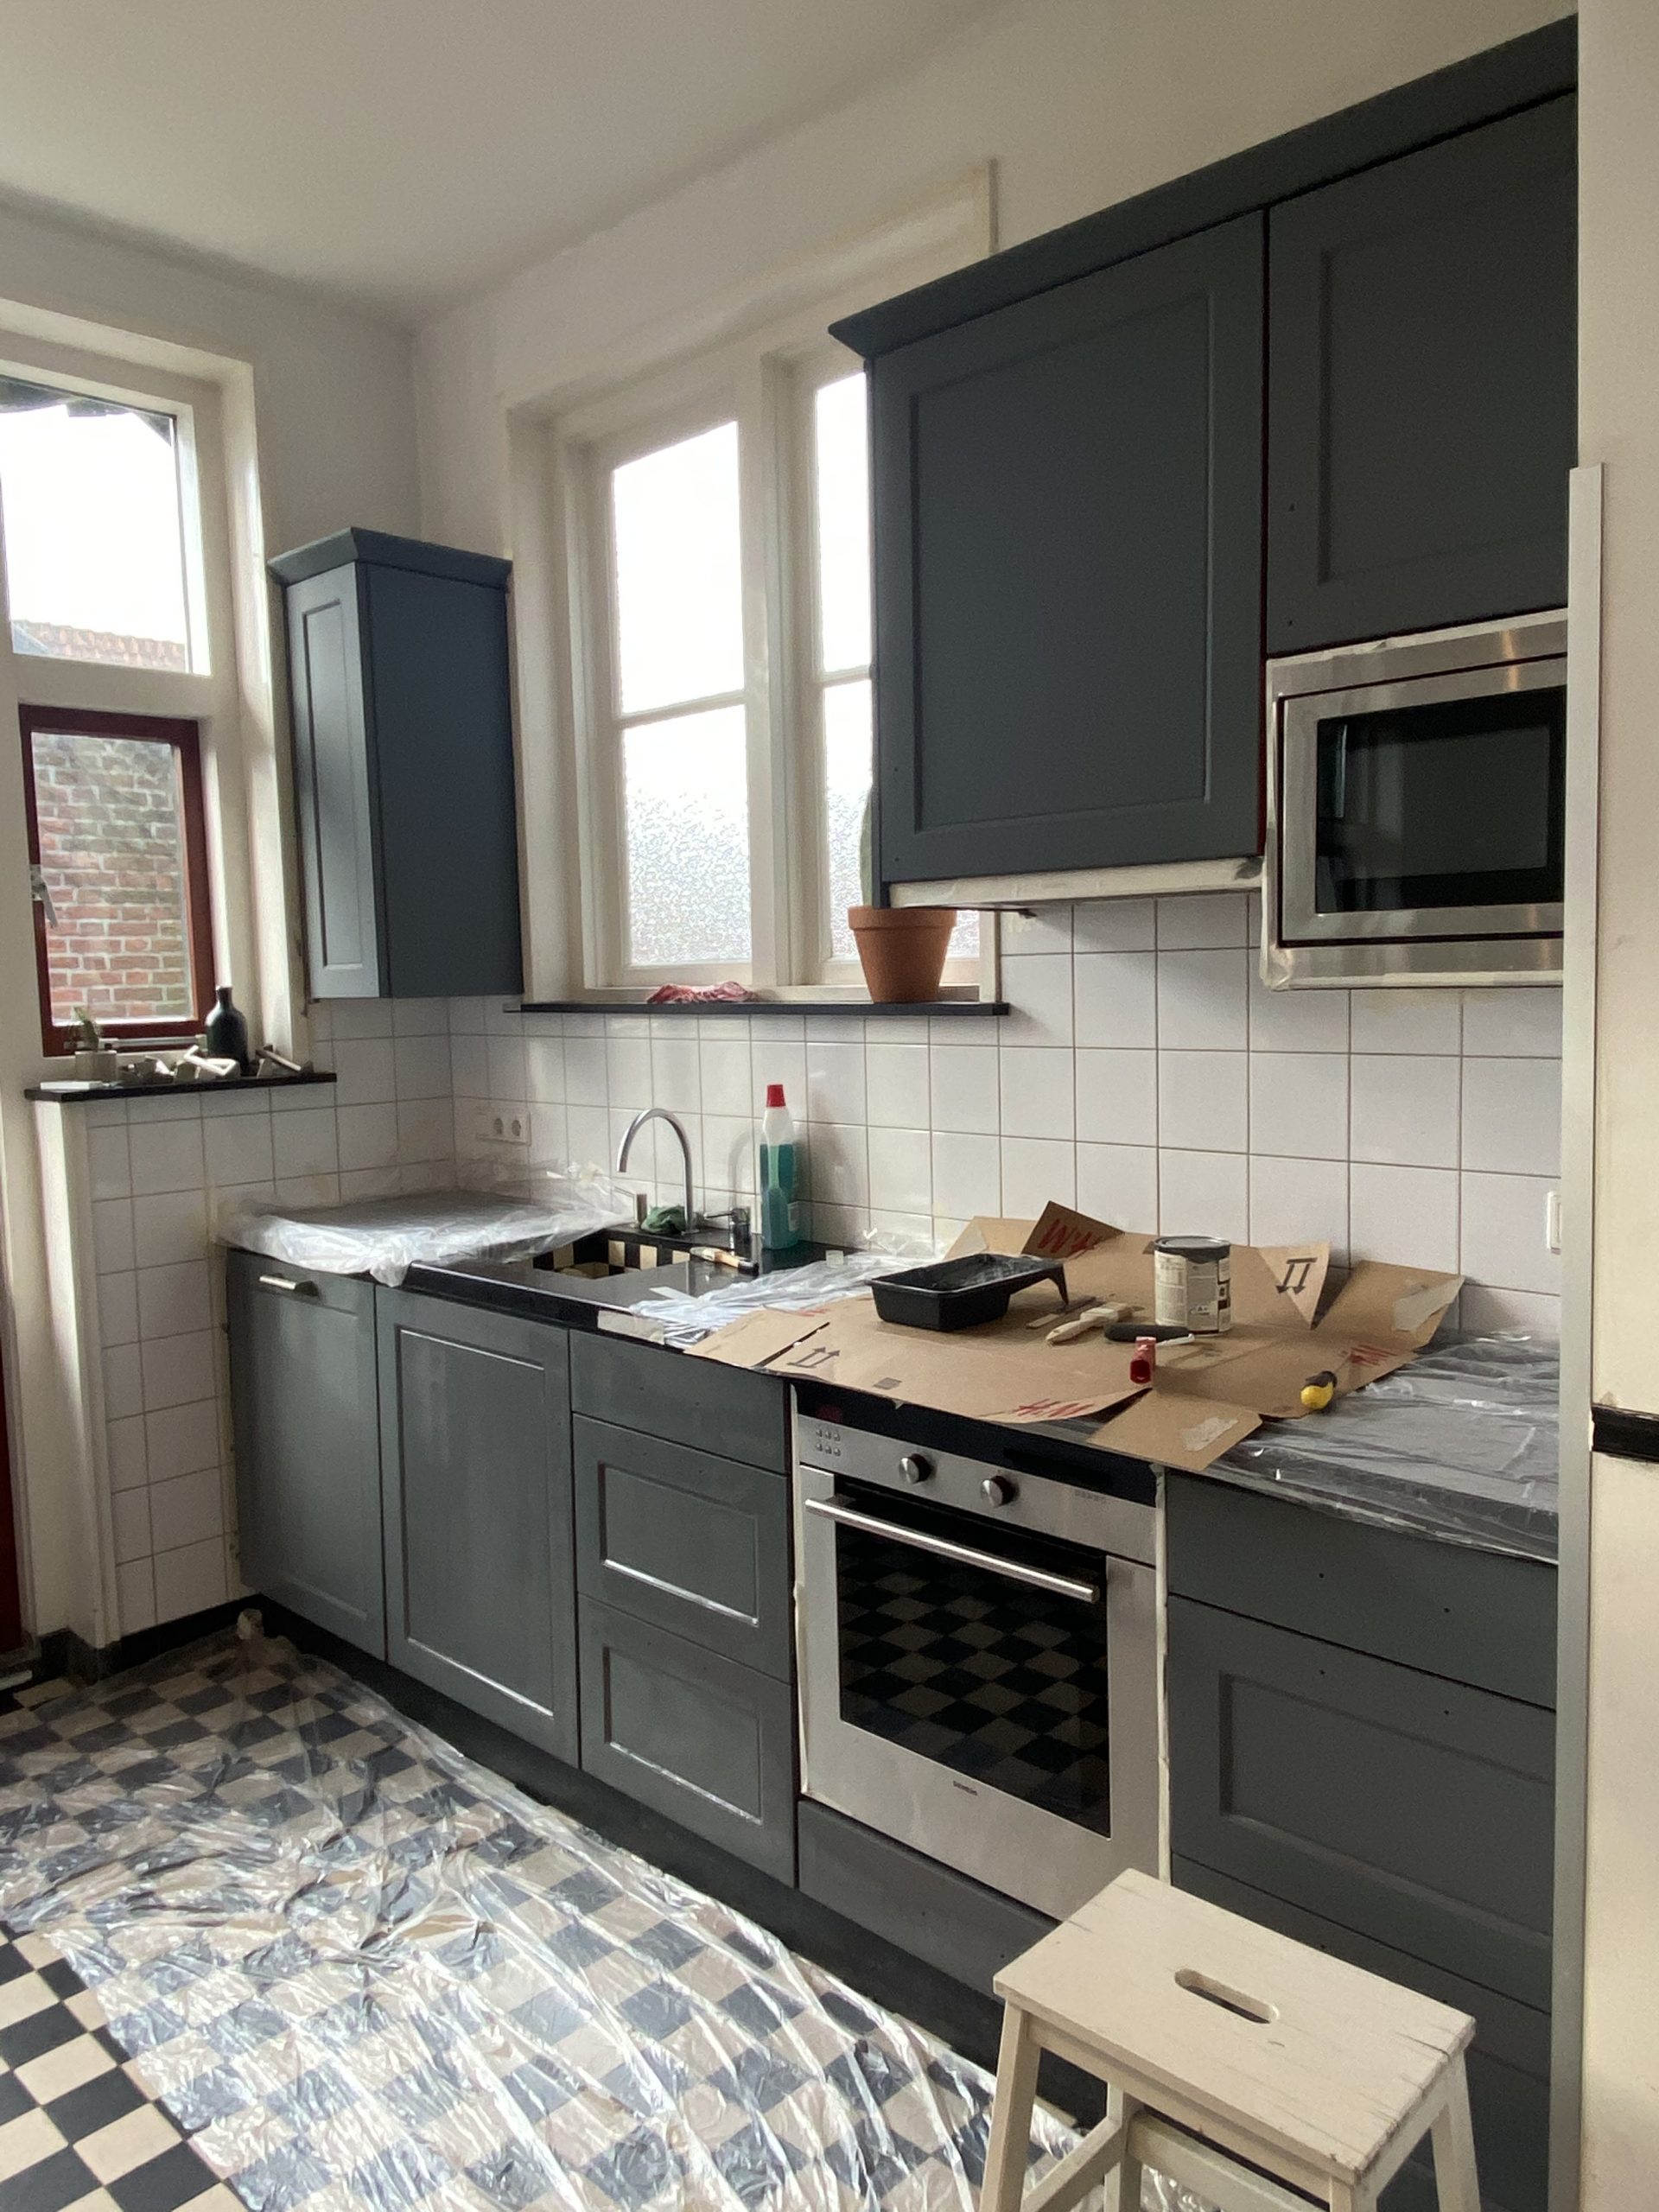
When we first bought our home we were overwhelmed by the amount of red used in the interior – red carpeting, red walls, red window frames and doors, and a red kitchen. Although the tone of red chosen for the kitchen cabinets had its own charm, we decided that a coat of paint was needed nonetheless. This is what we were working with:
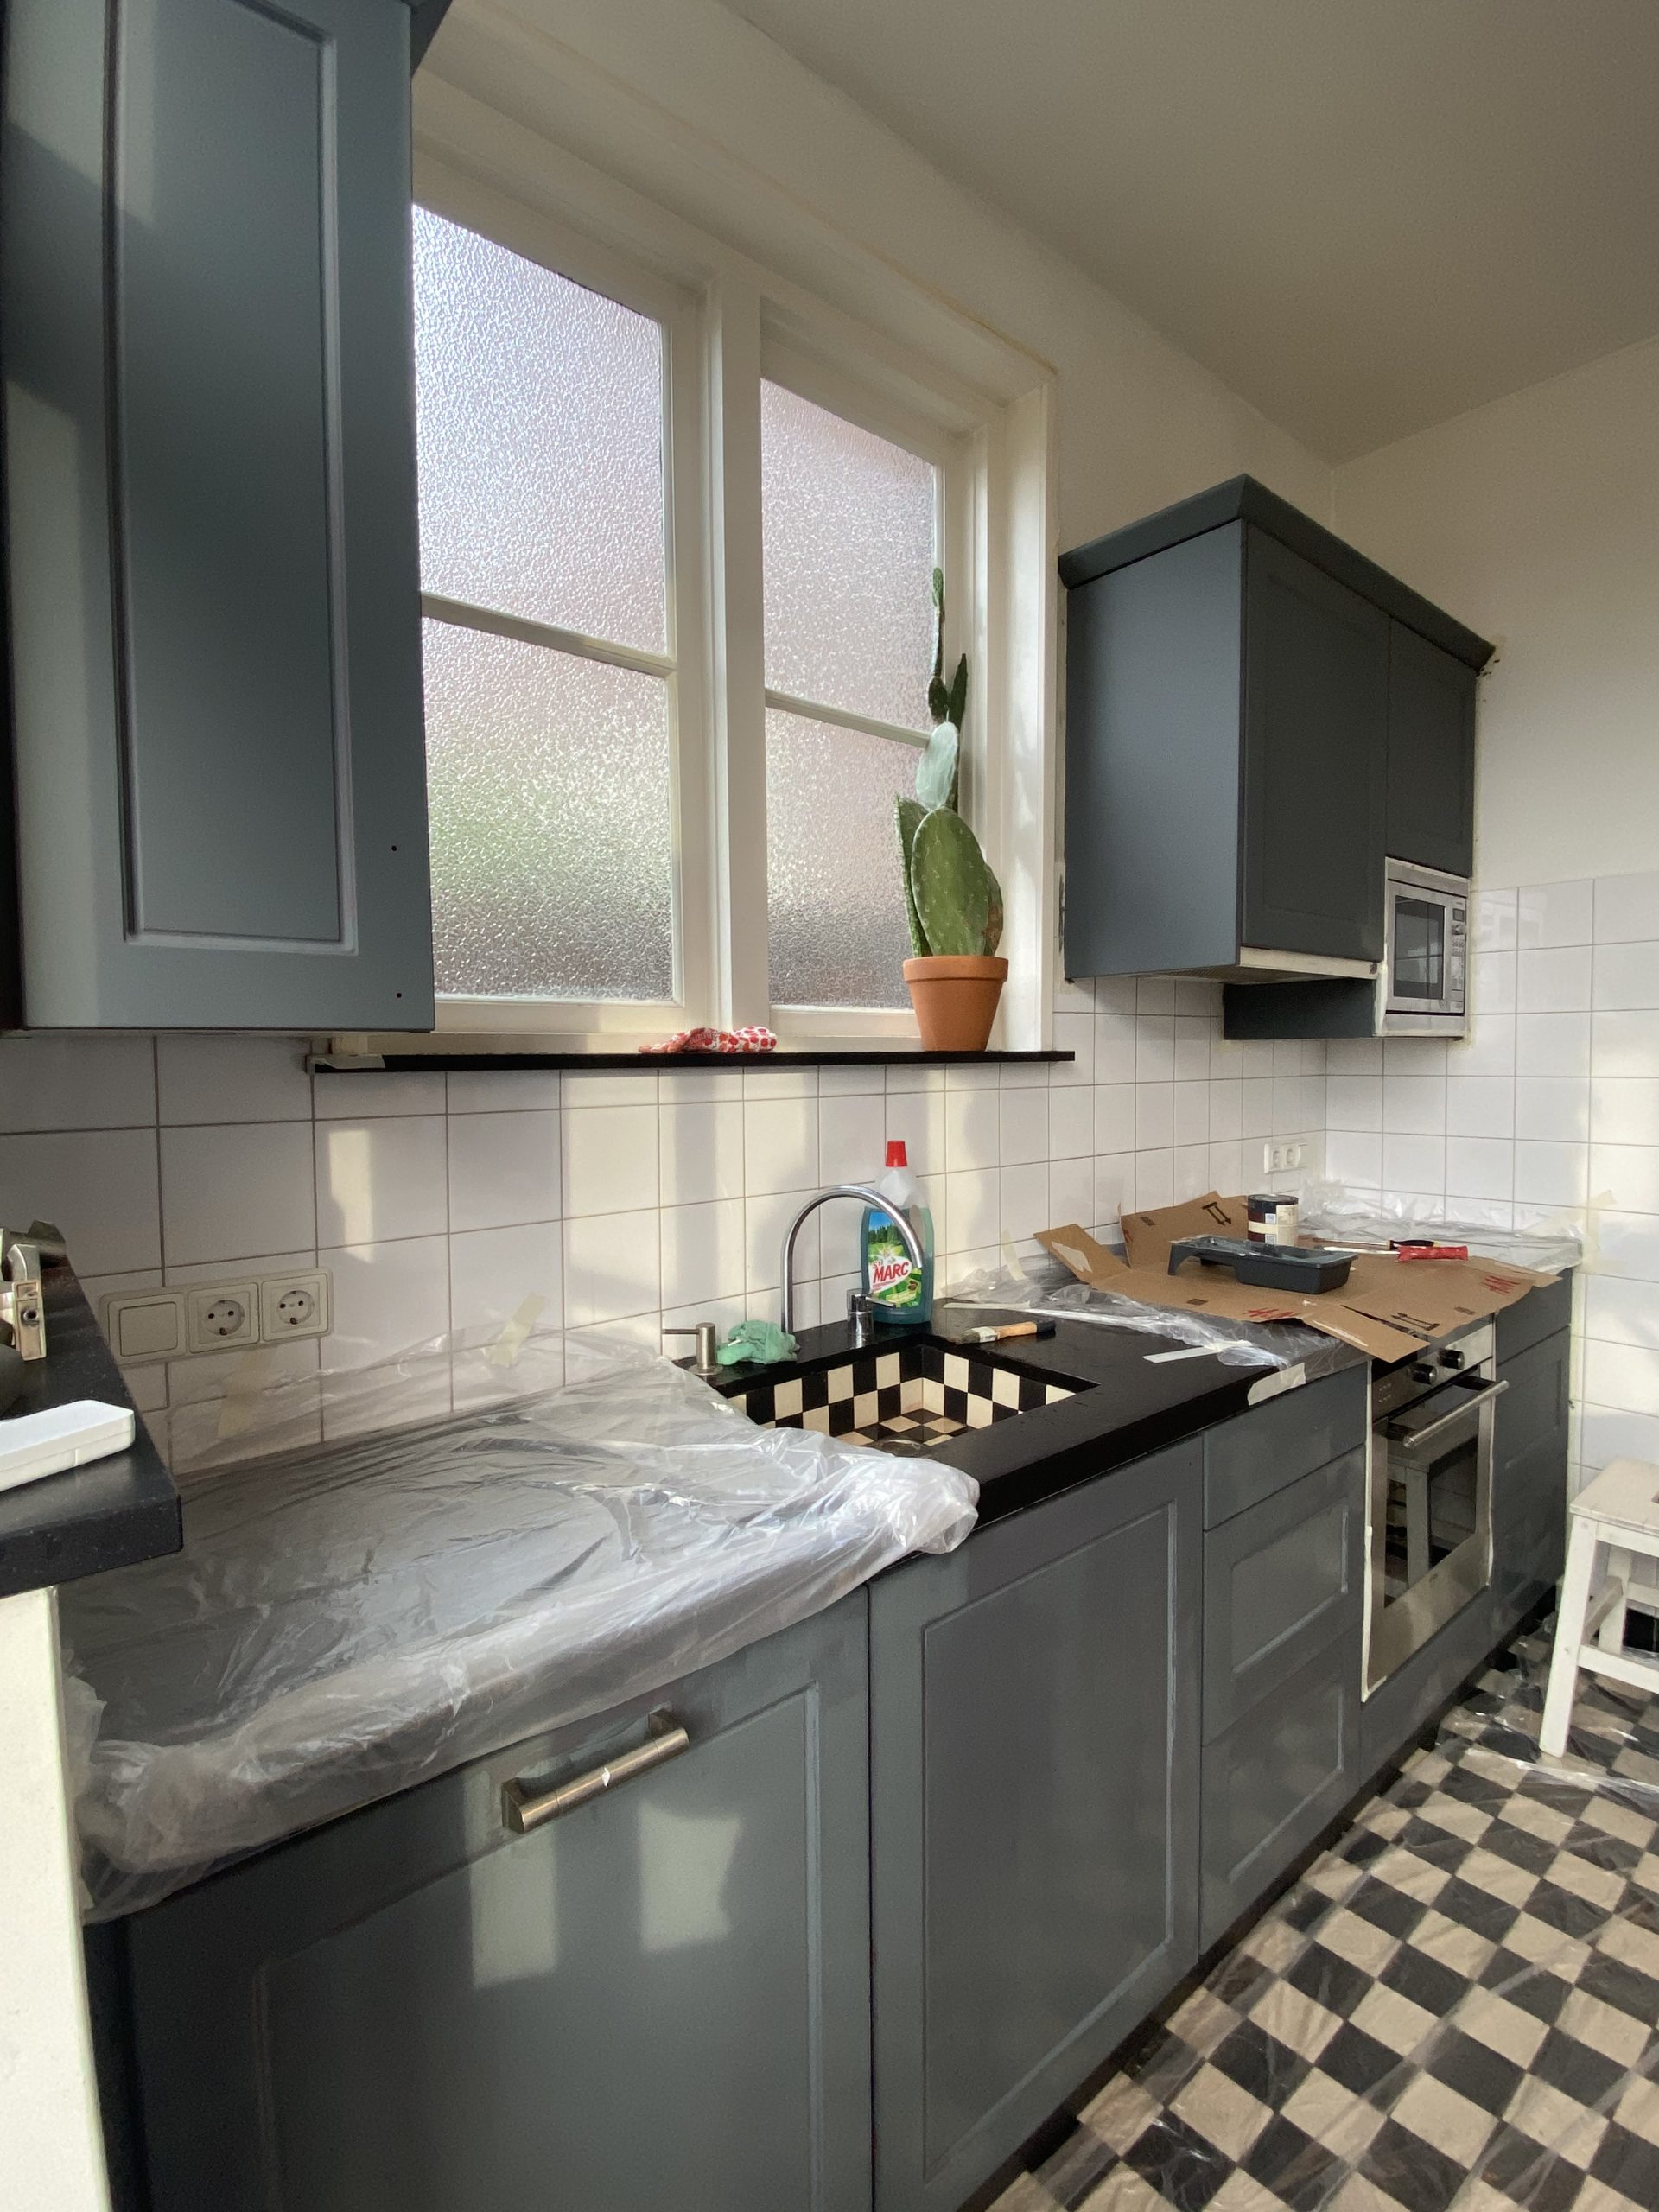
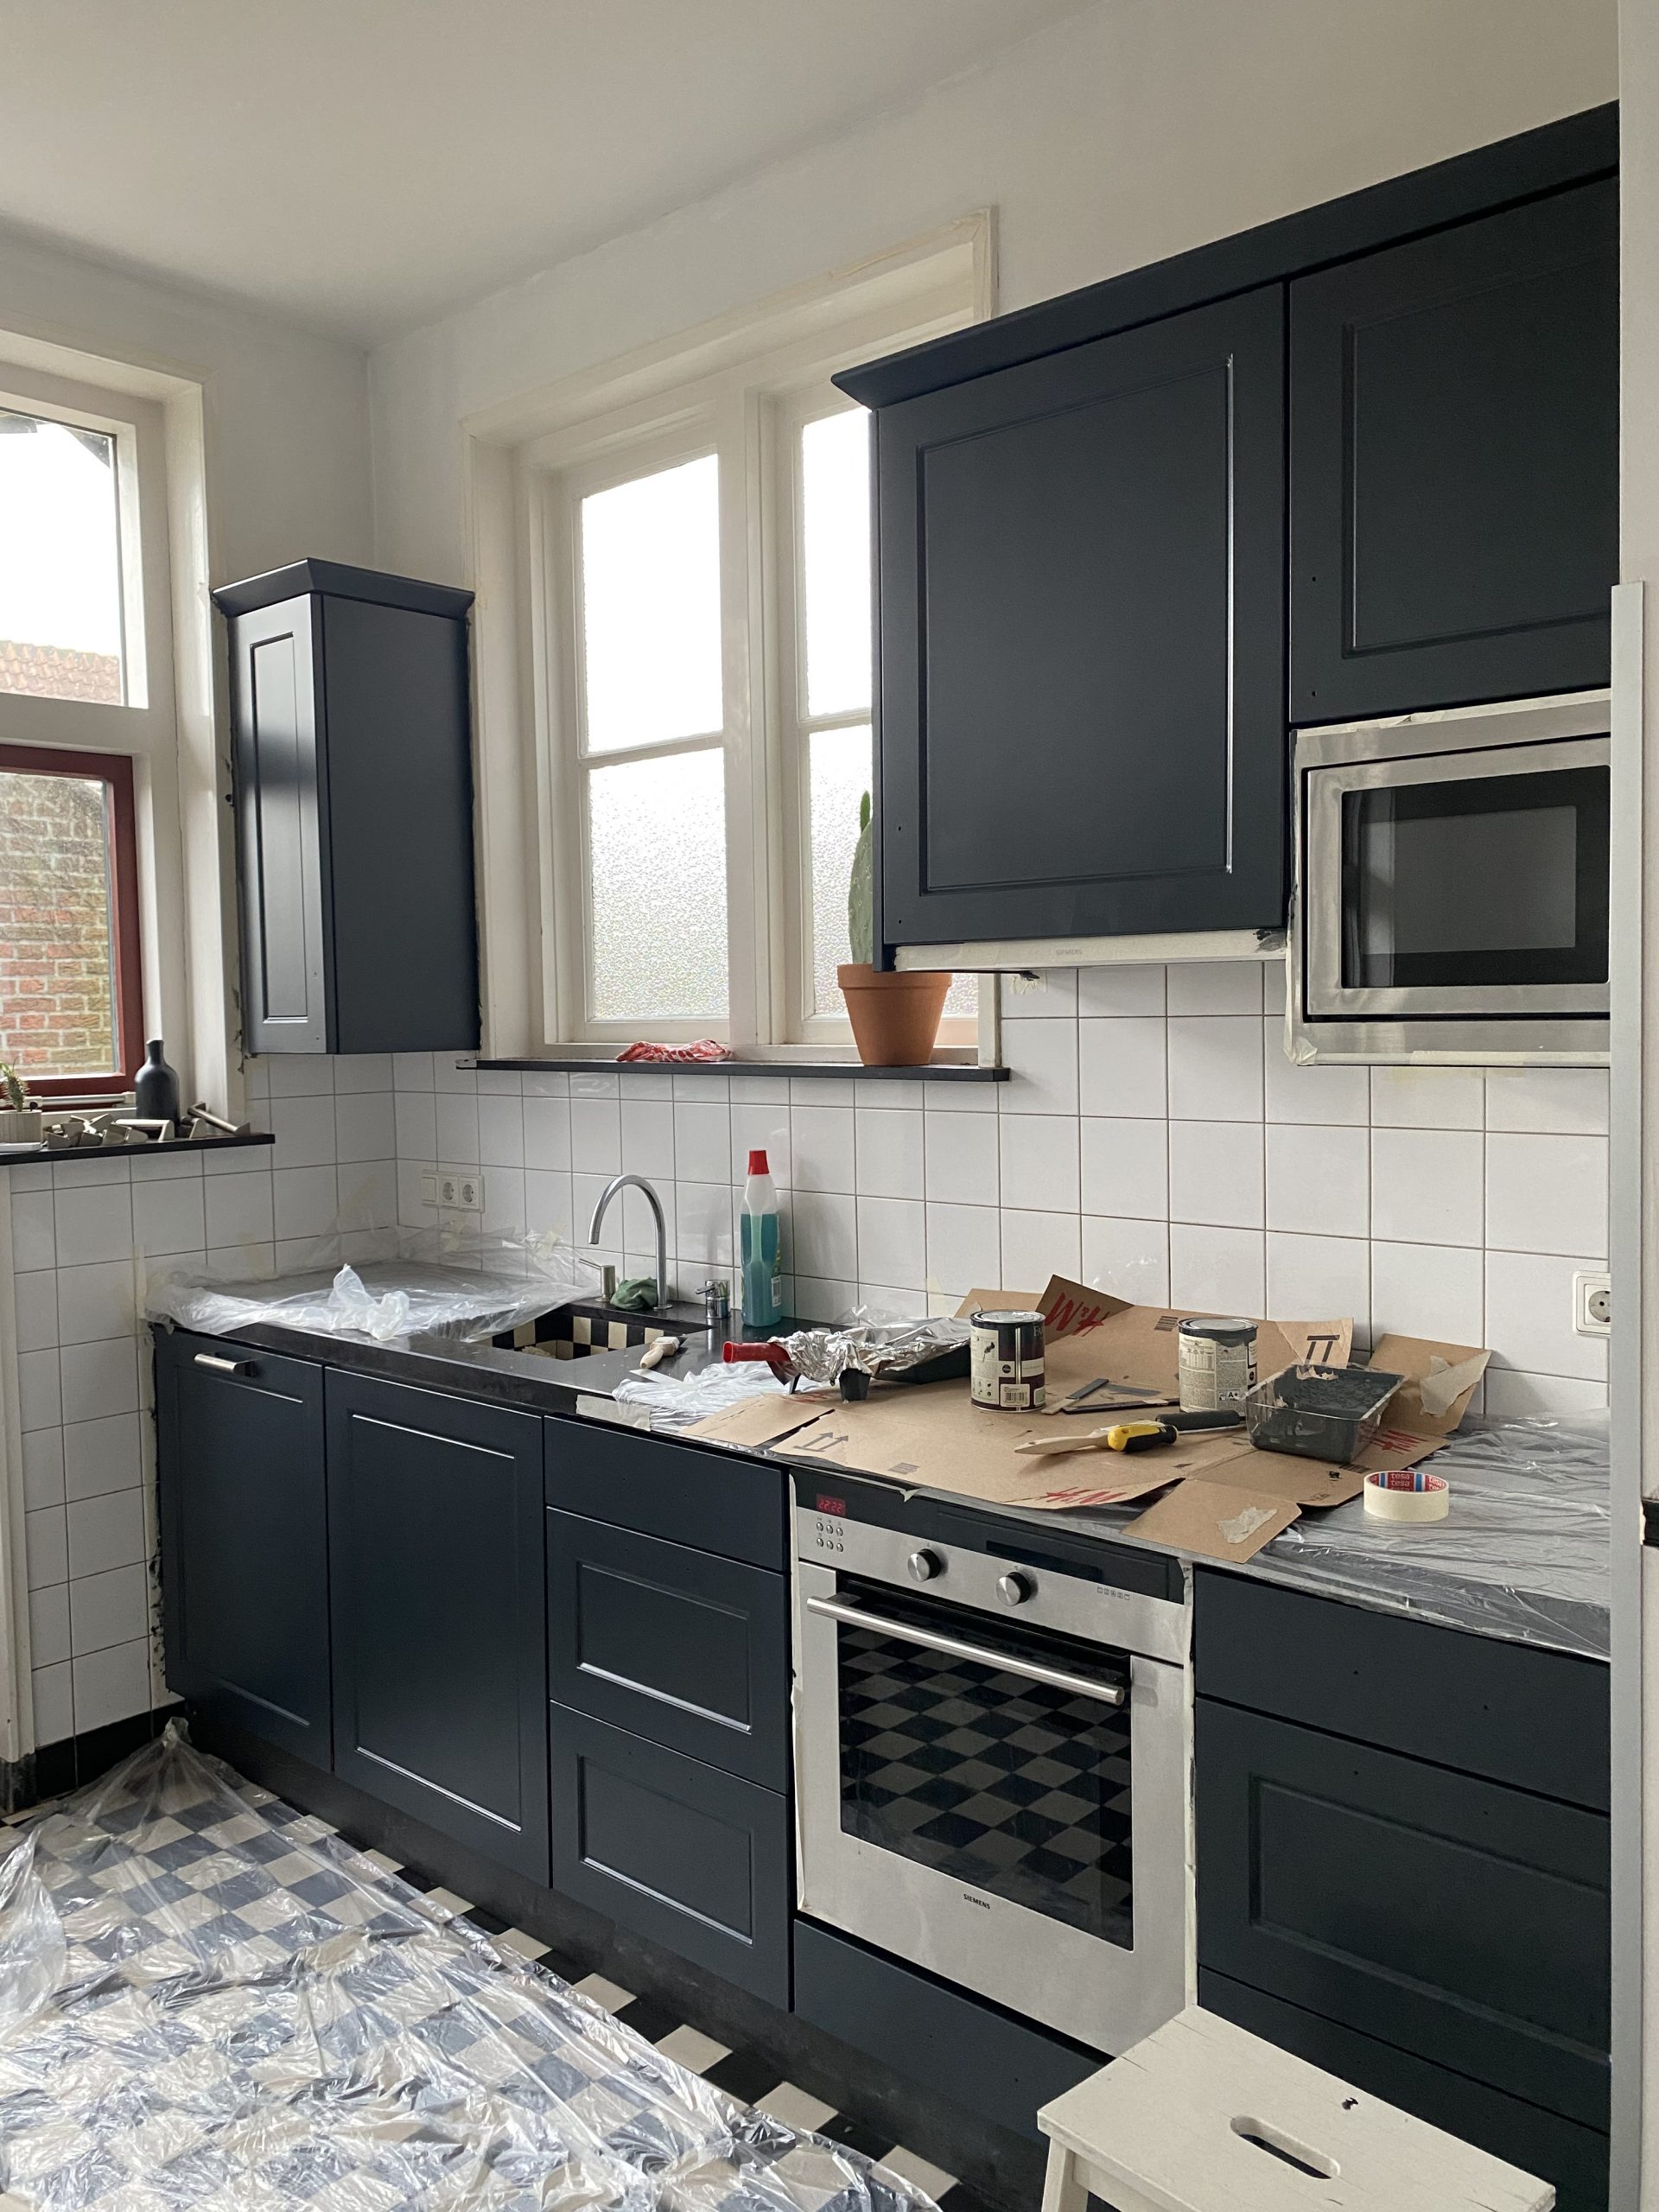
The kitchen renovation was the first major project we took on. We knocked down two walls to create an open kitchen and dining area, and placed a new kitchen island to bring the two spaces together. To save some of our budget for other things, we kept the original kitchen as is. After living in our home for a few months and seeing the kitchen in different kinds of light, we decided that the kitchen cabinets would be painted a very dark blue or green.
Painting your kitchen is an easy way to give your kitchen a whole new look, but many people will tell you that its a job for professionals and is a really hard thing to do. But this isn’t true! If you’re confident in your painting skills (which definitely do not need to be professional), then you can definitely repaint your kitchen cabinets yourself.
Countless YouTube videos and DIY blog posts later, I figured out that the easiest paint to use would be chalk paint. Chalk paint is very forgiving and easy to use – some say that you don’t even need to sand and prime your surfaces! However, just to make sure that the cabinets would have a durable finish, I did prep the cabinets as well as possible. Just in case!
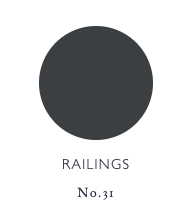
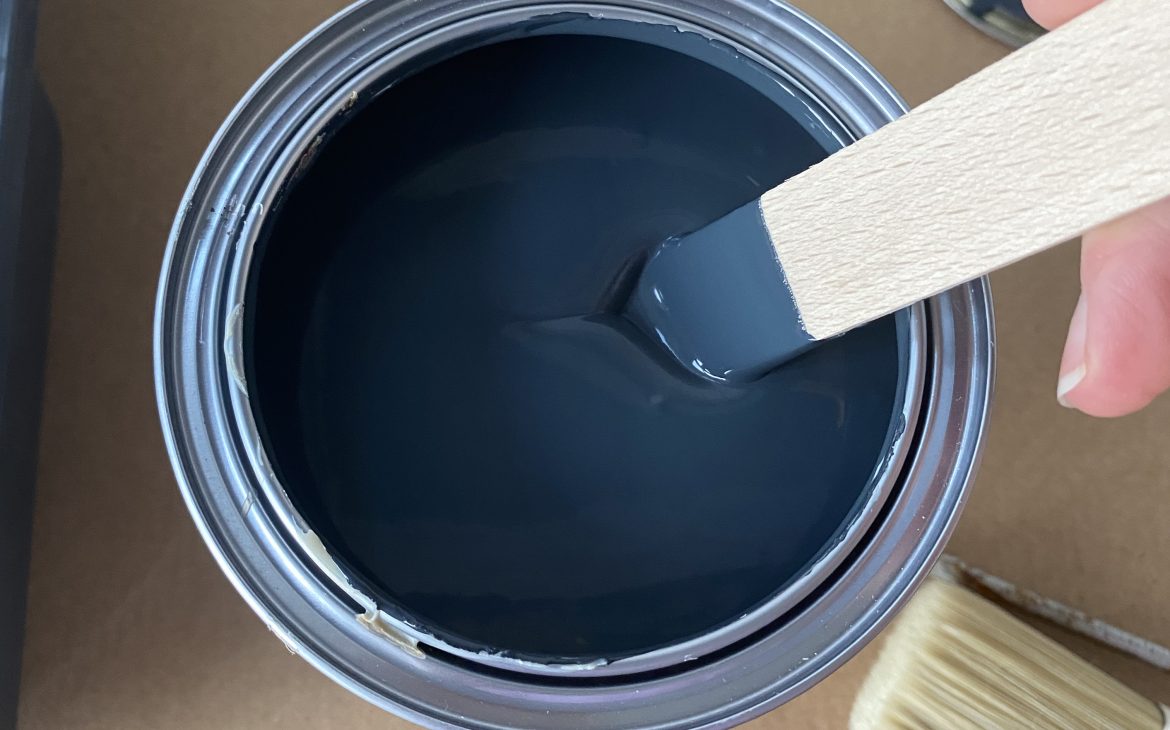
The color we chose for the kitchen was a Farrow & Ball Estate Eggshell finish wood and metal paint. Googling pictures of kitchens in different colors definitely helped me make the final choice – Railings. We wanted a semi-matt finish on the paint, and Estate Eggshell was a perfect choice as it has just 20% shine. Farrow & Ball says that the painted surfaces can be easily cleaned, but I guess that remains to be seen!
Thanks to COVID restrictions and all non-essential shops being closed in the Netherlands, I had to order the paint online and just cross my fingers. When the paint arrived from a local Home Design Shops webshop, I was ready to go!
What you’ll need:
– 1 x 750ml Farrow & Ball in the color of your choice in Estate Eggshell finish
– 1 x 750ml Farrow & Ball Interior Wood Primer & Undercoat (in either light or dark, depending on your topcoat color choice)
– 2 x roller for chalk paint (I used a 10cm one)
– 2 x paintbrush (I used a 3.8cm one)
– Fine sanding paper
– A degreaser, like St Marcs
– Painter’s tape & plastic sheets for covering any surfaces
– Paint trays
Painting your kitchen cabinets:
Prepare your cabinets
Properly preparing your cabinets for painting is definitely the least fun, but it’s the most important. Proper prep is half the work, and you should definitely spend enough time doing this. Trust me, it will make painting so much easier, and guarantee a better end result.
Take off all of the fixtures on drawers and cabinets, or use the painter’s tape to cover ones you cannot remove. Use the painter’s tape to cover any areas close to the cabinets and countertops that need to be protected from paint. I used the paint along all of the cabinets and tiles to make sure I don’t have any “accidents”. You can also use plastic/fabric sheets to cover any larger surfaces, such as your countertop and floors.
Wipe done all of the cabinets to remove any grease or dirt. Then, start lightly sanding all of the surfaces. Any spot you want to paint – sand it. This is a tedious and exhausting job. If you’re confident with a handheld sanding machine, I would definitely use it. Since I have zero experience using one, I did this by hand.
Once you have sanded all of the cabinets, use a degreaser to remove all of the fine residue on the surfaces. Let the cabinets dry.
Prepping my kitchen cabinets took about 3 hours.
Getting to the fun part
Now that you have prepared your kitchen cabinets for painting, it’s time to get to town with the primer. Mix the paint well and pour it into a paint tray. Using your brush, start with the edges of the cabinets. Then, use your roller for any larger surfaces. Take your time to get an even layer of paint. A good tip is to not have too much paint on your paintbrush and/or roller to avoid any dripping.
Check the drying time of your paint – the Farrow & Ball Primer recommends a 4 hour drying time. I let the cabinets dry overnight because I wanted to paint with daylight. Painting my kitchen with primer took me about 2.5 hours.
Once the primer has dried, you can get started with your top coat!
Using a fresh paint tray (I used liners), paintbrush and roller, paint your kitchen cabinets with your top coat paint. Once again, take your time to make sure that the paint covers each surface evenly for a good finish. Let the paint dry the required time.
Depending on the finish you want, and whether or not you are happy with the opacity of your topcoat, you can decide whether or not to apply a second coat. Since I noticed some areas didn’t have enough coverage, I painted a second layer.
When you’re happy with the result, and the possible second layer, you can remove all the tape and covers. Screw back your hardware and enjoy your brand new kitchen!


Follow me